Initial Preparations
In this initial lab you will access your dedicated workshop environment and verify that all required systems are reachable before starting the hands-on exercises.
Objectives
After completing this preparation you will:
- Access your dedicated lab environment
- Verify connectivity to the shared SAP system
- Log in to your FortiGate firewall
- Connect your FortiGate to the shared FortiAnalyzer instance
No configuration changes are performed in this section.
Login to Student Desktop
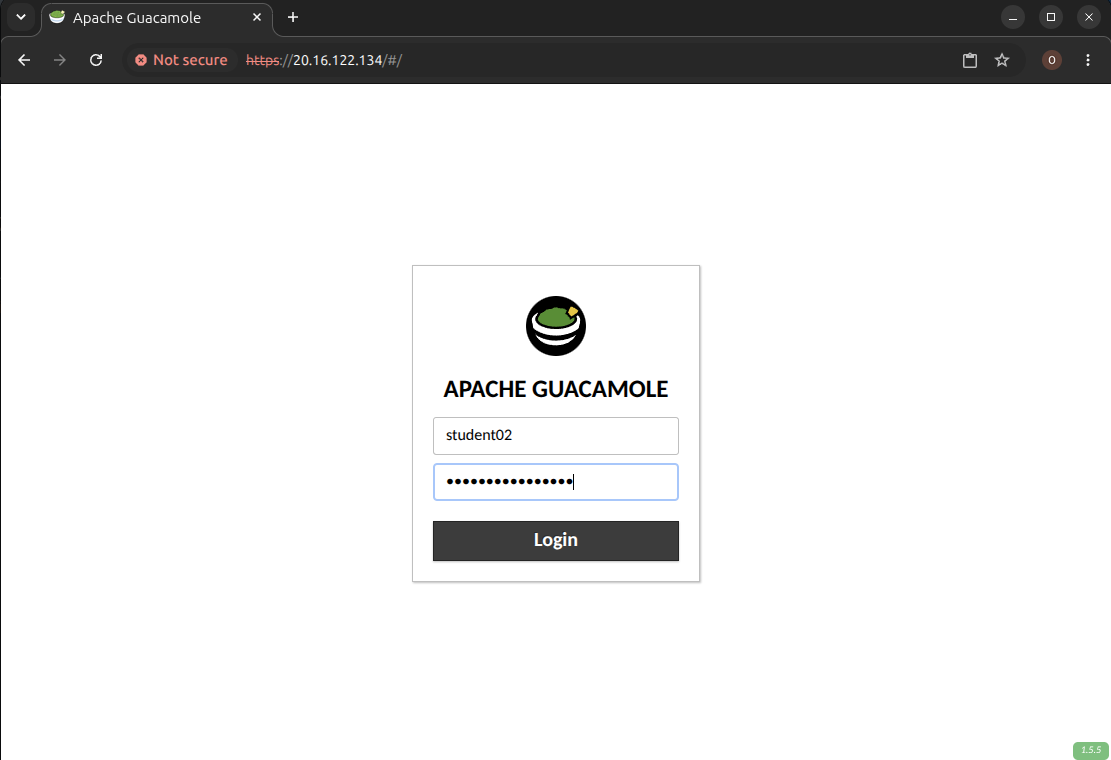
- In your Web browser open the URL to the Apache Guacamole Server provided by your instructor.
- Login with your student credentials (e.g.
studentXXwhereXXis your number)
-
You should see the following two connections:
-
Kali Desktop
- SAProuter
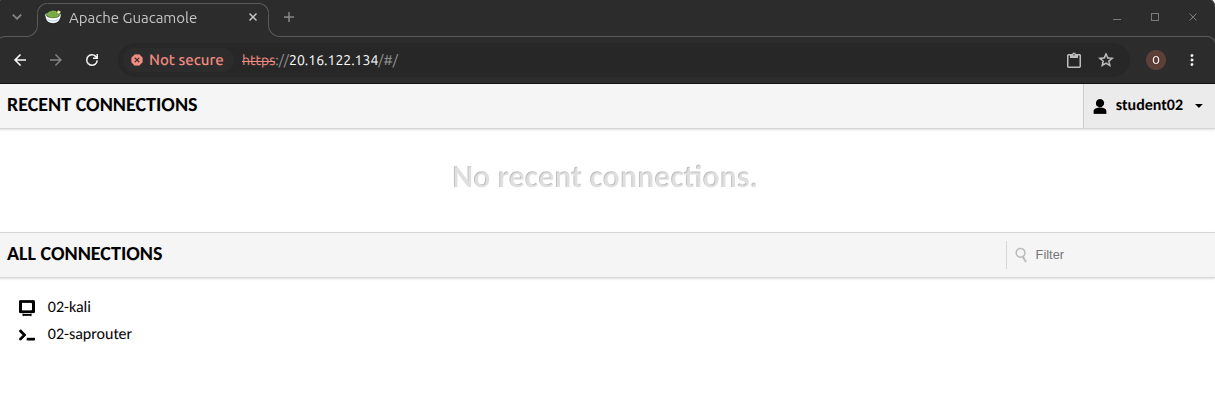
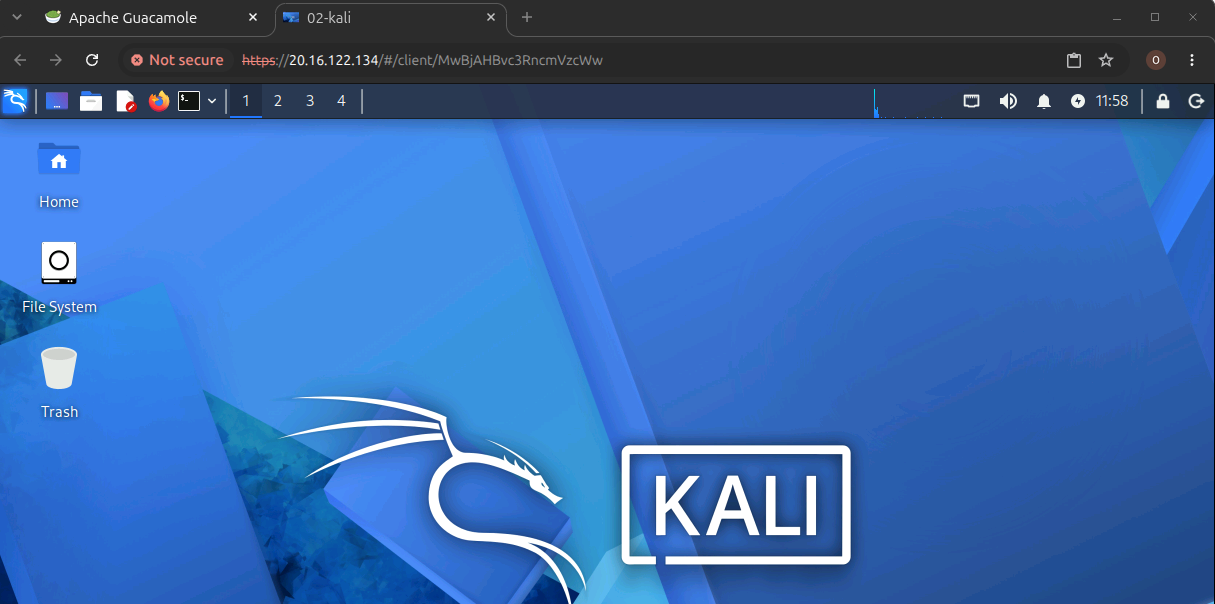
- Right-click on the kali desktop and open it in a new tab. In the new tab, a kali desktop will load.
Login to the shared SAP System
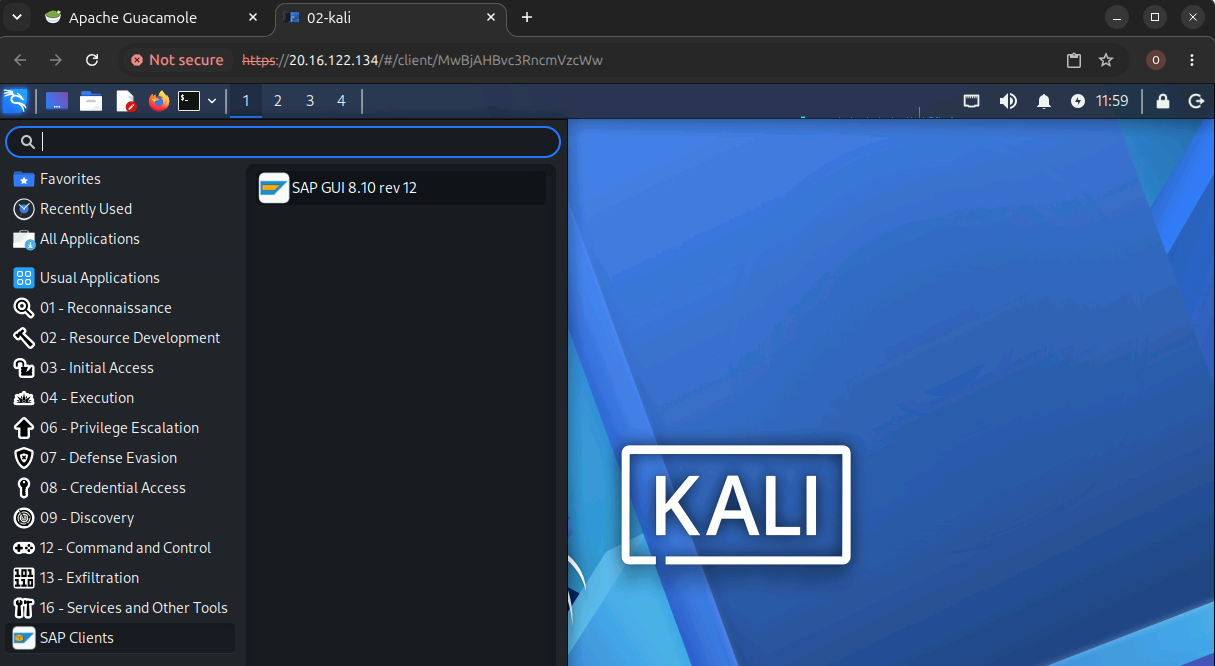
- In the next step, open the main application menu by selecting the Kali logo on the top left corner. In the opened menu go down on the left side, select
SAP Clientsand then theSAP GUIentry.
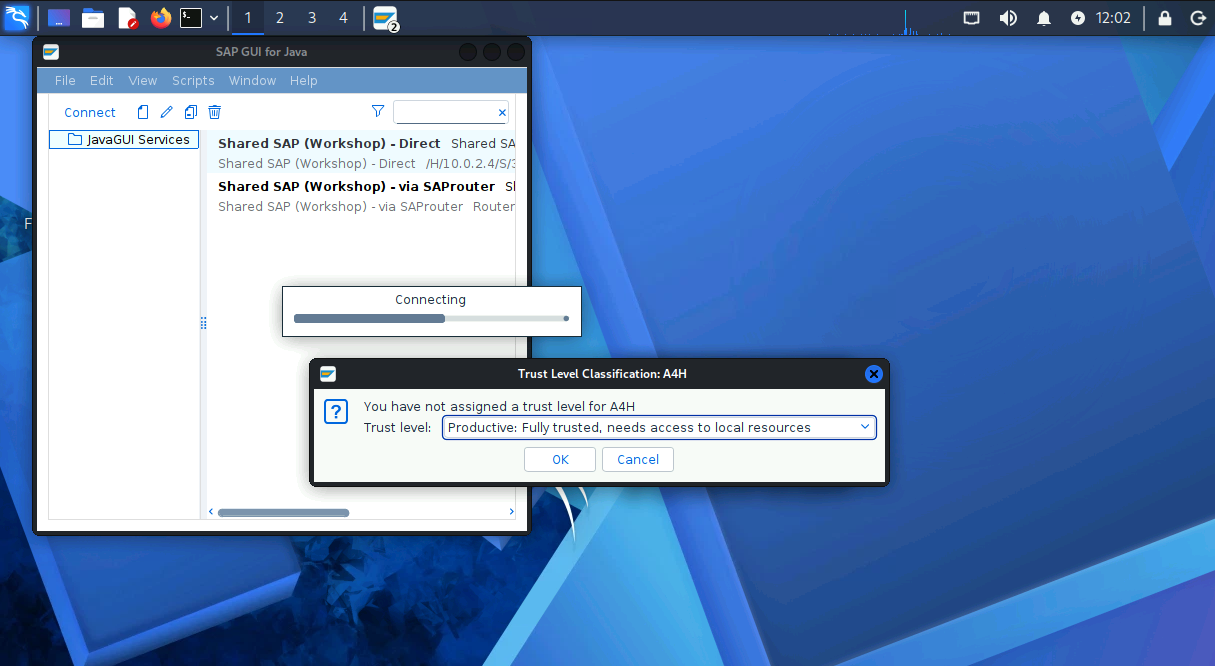
- After SAP GUI for Java has been opened, double click on the entry for the
- Directconnection. If you get asked about the trust level, selectProductiveand clickOK
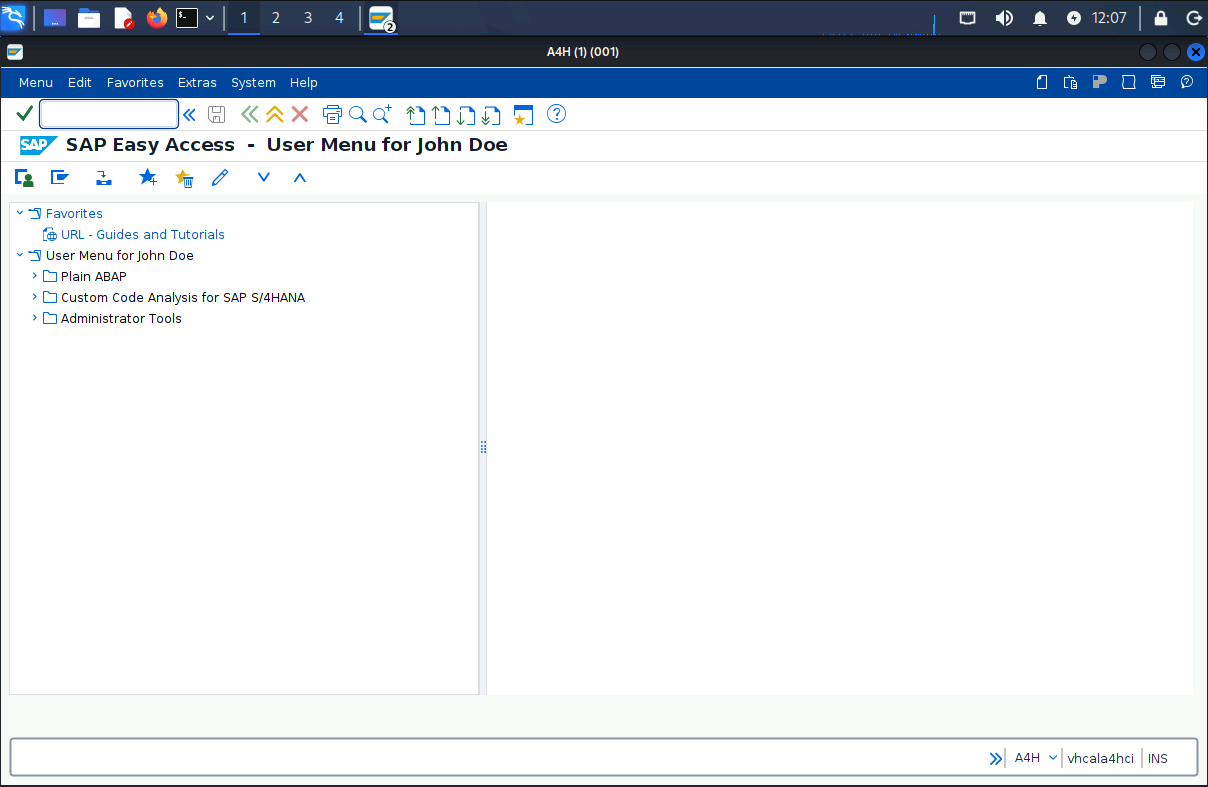
- After SAP GUI has been started, login with the credentials provided on the Logon Screen.
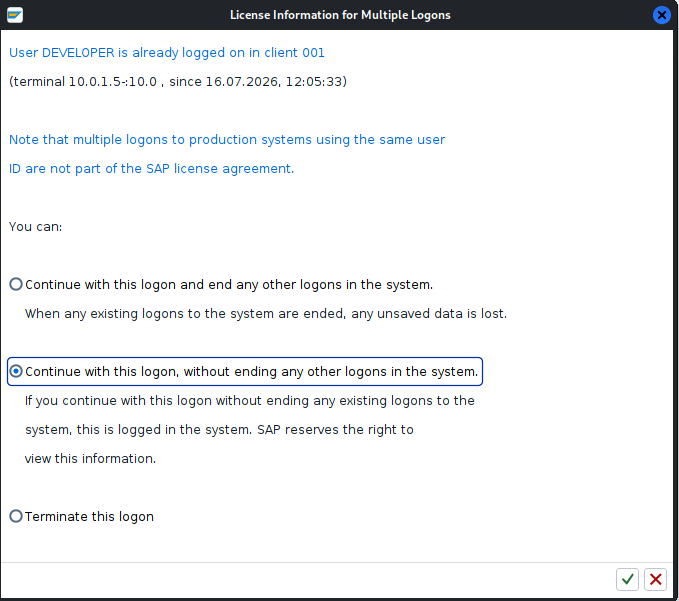
Keep in mind that this system is shared between all students. If there is a popup regarding multiple logins, just leave all others active and proceed with yours.
If you like, you can copy the
DevelopmentUser to a user for yourself for later usage.
- You can now close SAP GUI. It will be used again during Lab 1.
Login to FortiGate Firewall
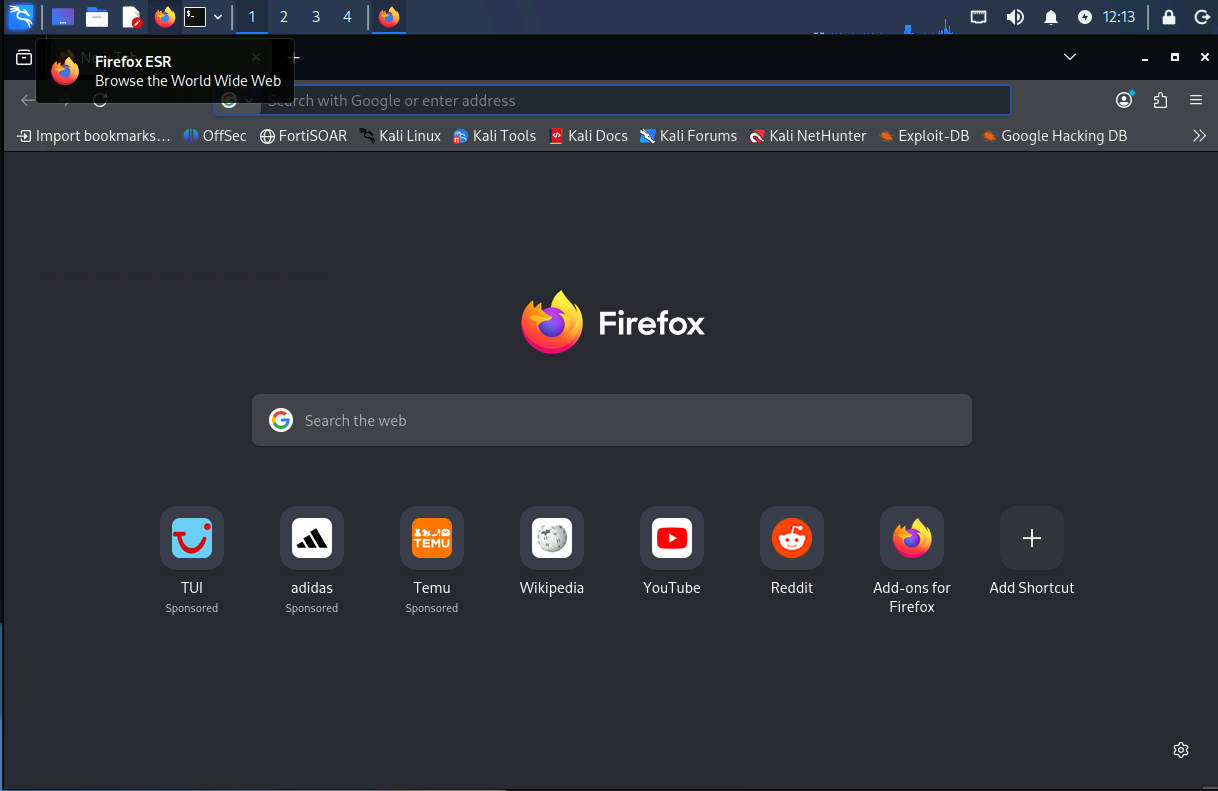
- Open the Firefox Web browser by clicking on the Icon on the top bar next to the main menu
- Navigate to the webui of the FortiGate Firewall: https://10.10.XX.36 (where
XXis your student number) in case no other URL is provided by your instructor. - The lab uses self-signed certificates. Click Advanced followed by Accept the Risk and Continue.
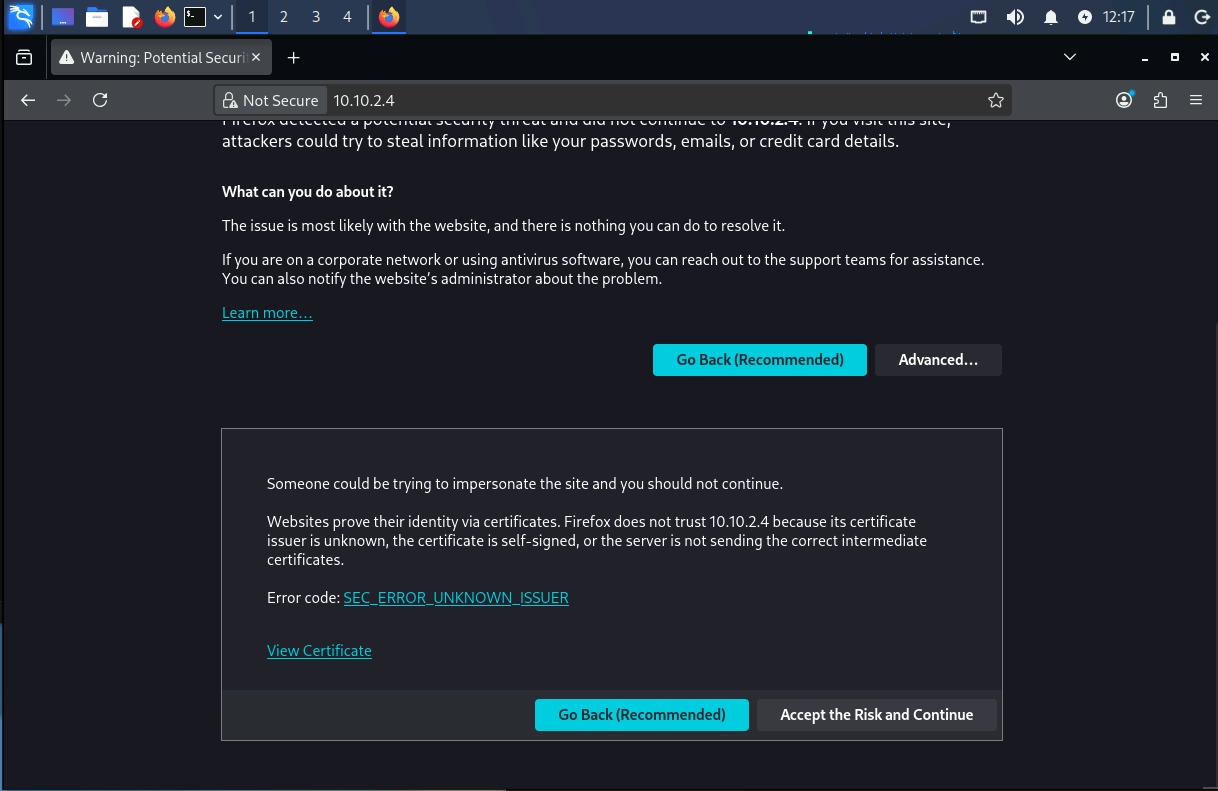
- Login with the username
fgtadminand the password provided by your instructor (If the page does not load properly, refresh the page in the browser)
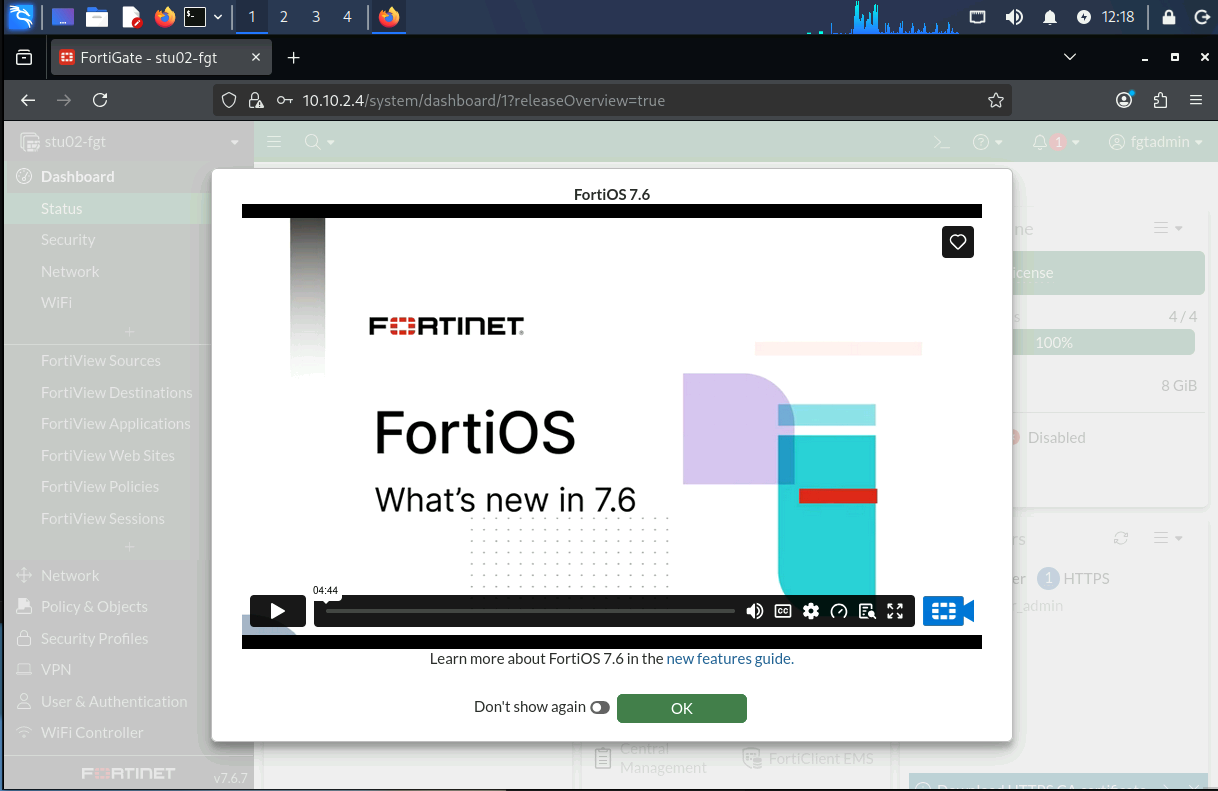
- Click
OKon the popup to proceed to the webui. In the left menu, scroll down toSecurity Fabric-Fabric Connector
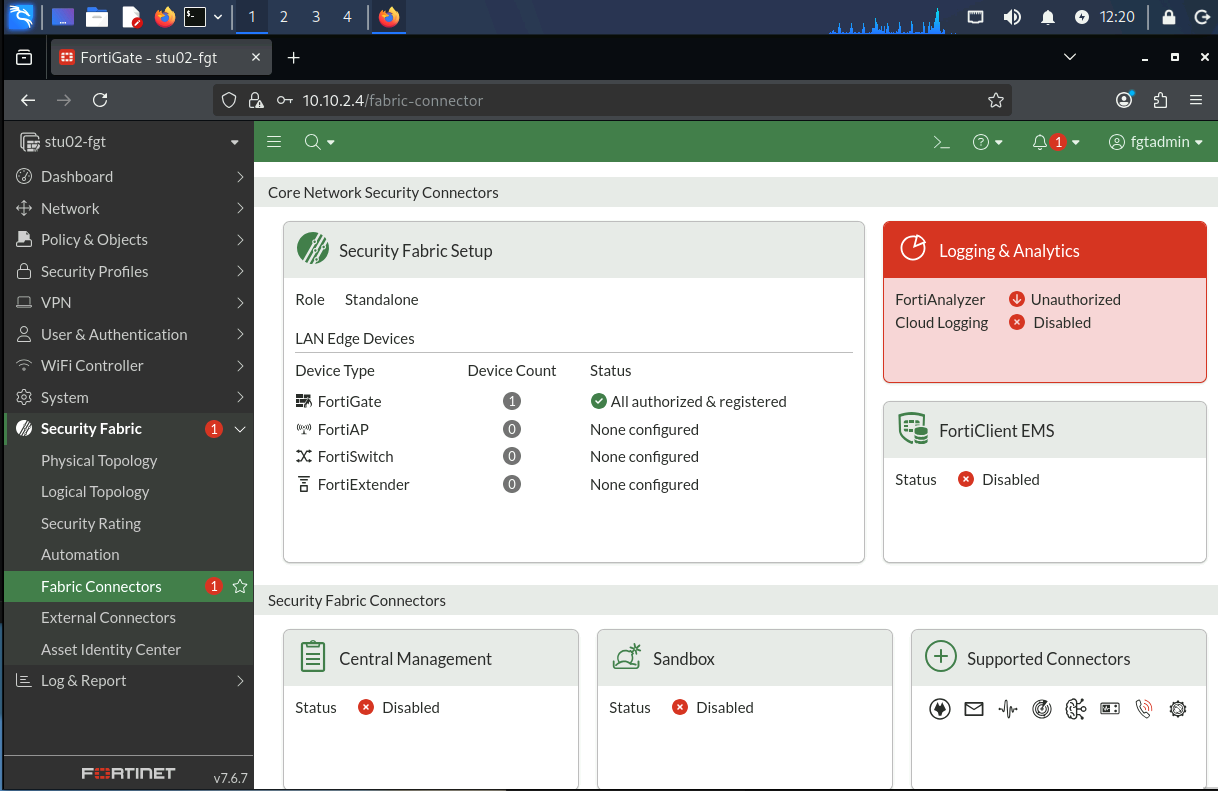
- Click on
Logging & Analyticsand selectEdit. If a message pops up regarding the verification of the FortiAnalyzer Serial Number, click onAccept
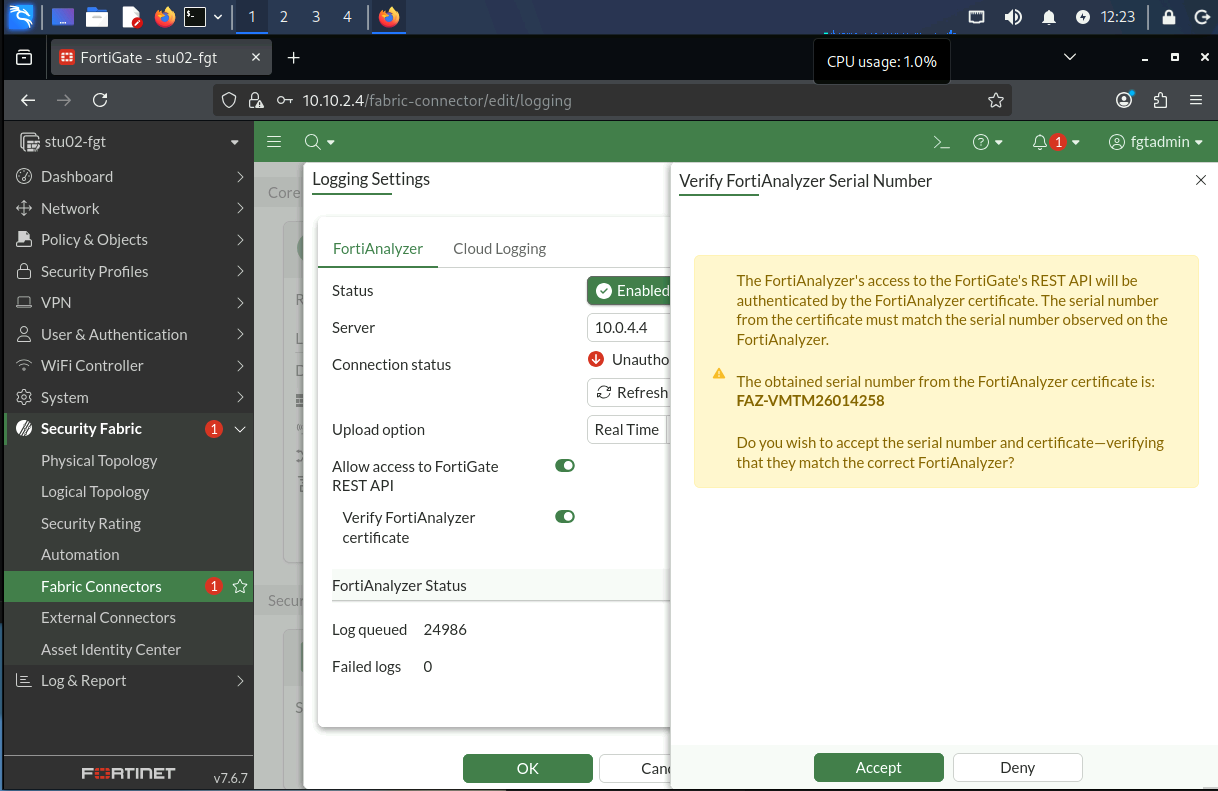
- A pop-up will ask, if you want to confirm the device on FortiAnalyzer - click
OK
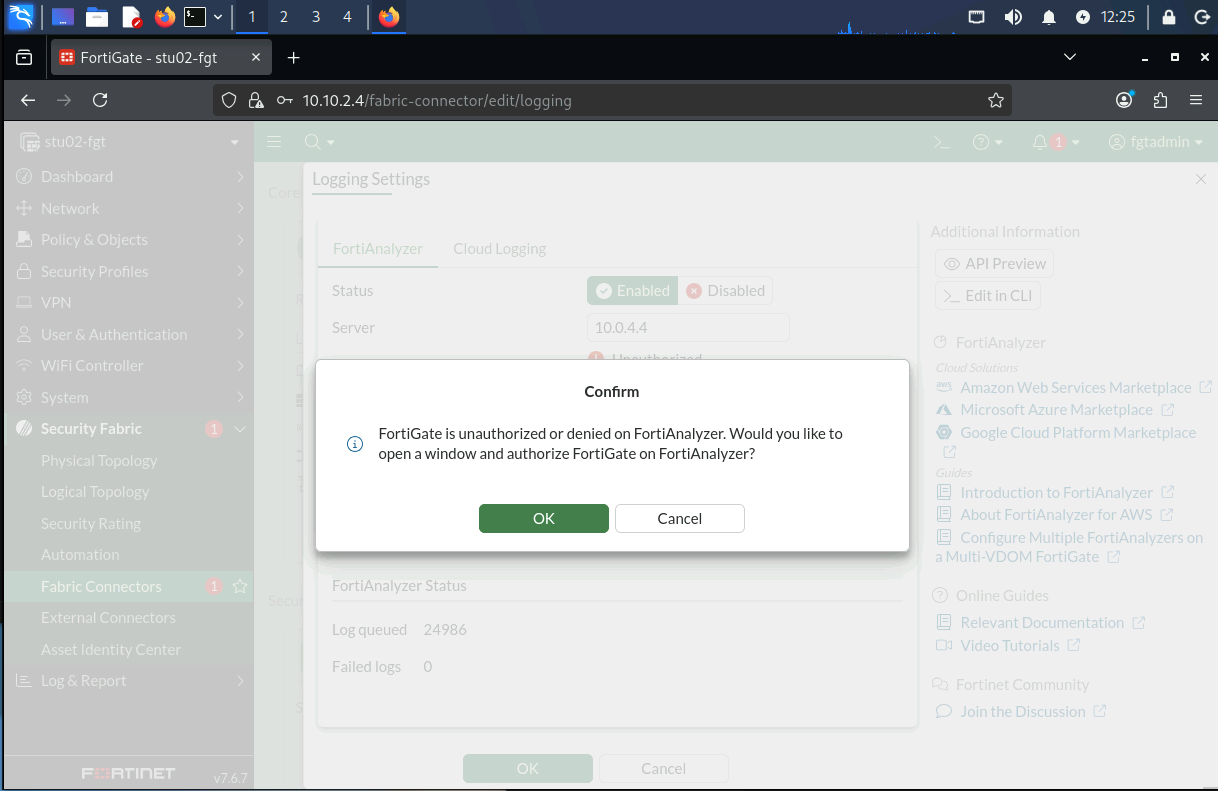
- A new browser windows will open. Provide the credentials as provided from your instructor to log into FortiAnalyzer.
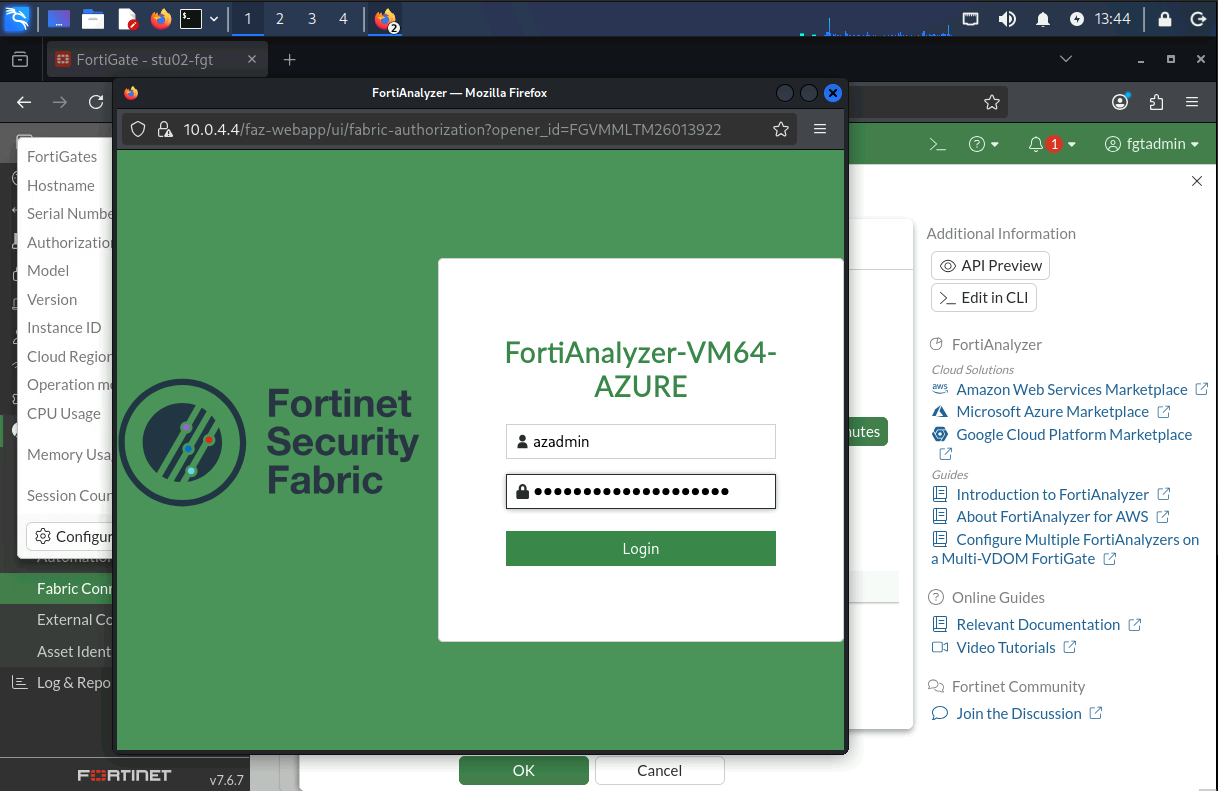
- It should be automatically filter for your Instance based on the serial number. Select
Approveif not already done and click onOK
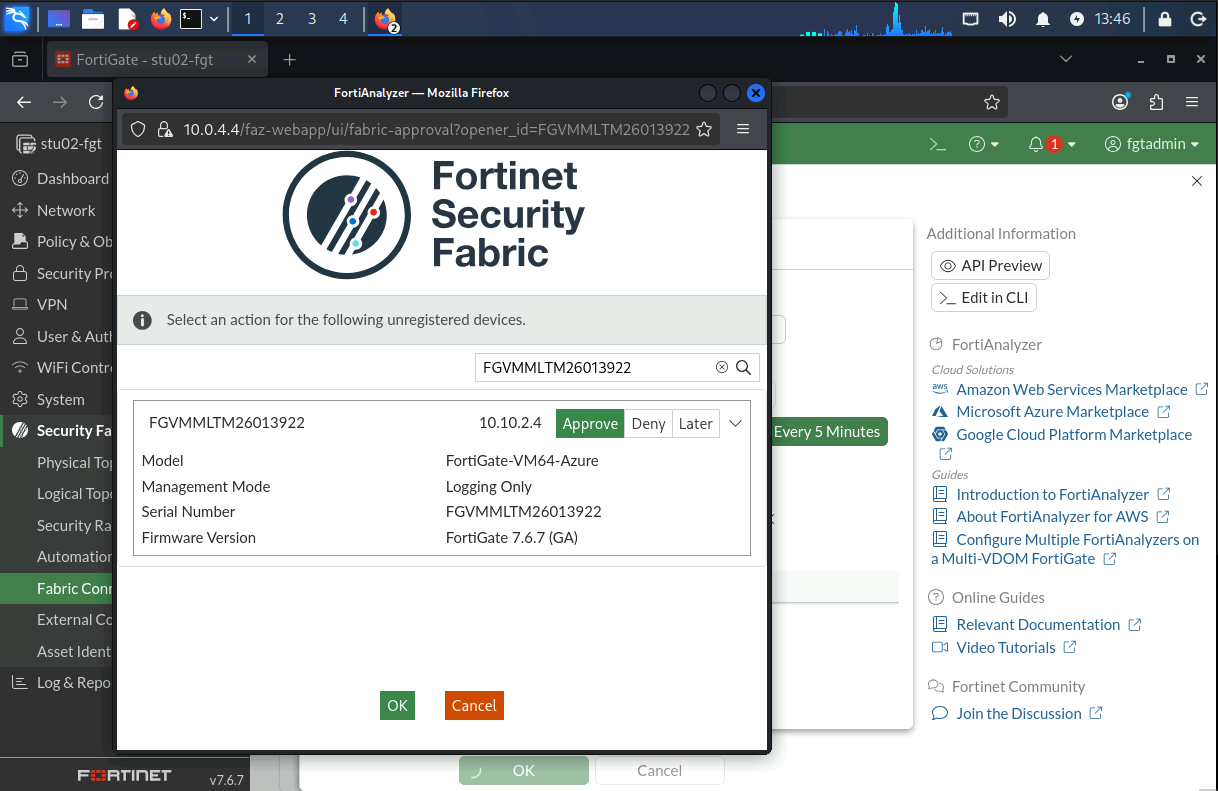
- The window will close automatically and after some seconds it should switch to
Connectedin the Logging & Analytics pane
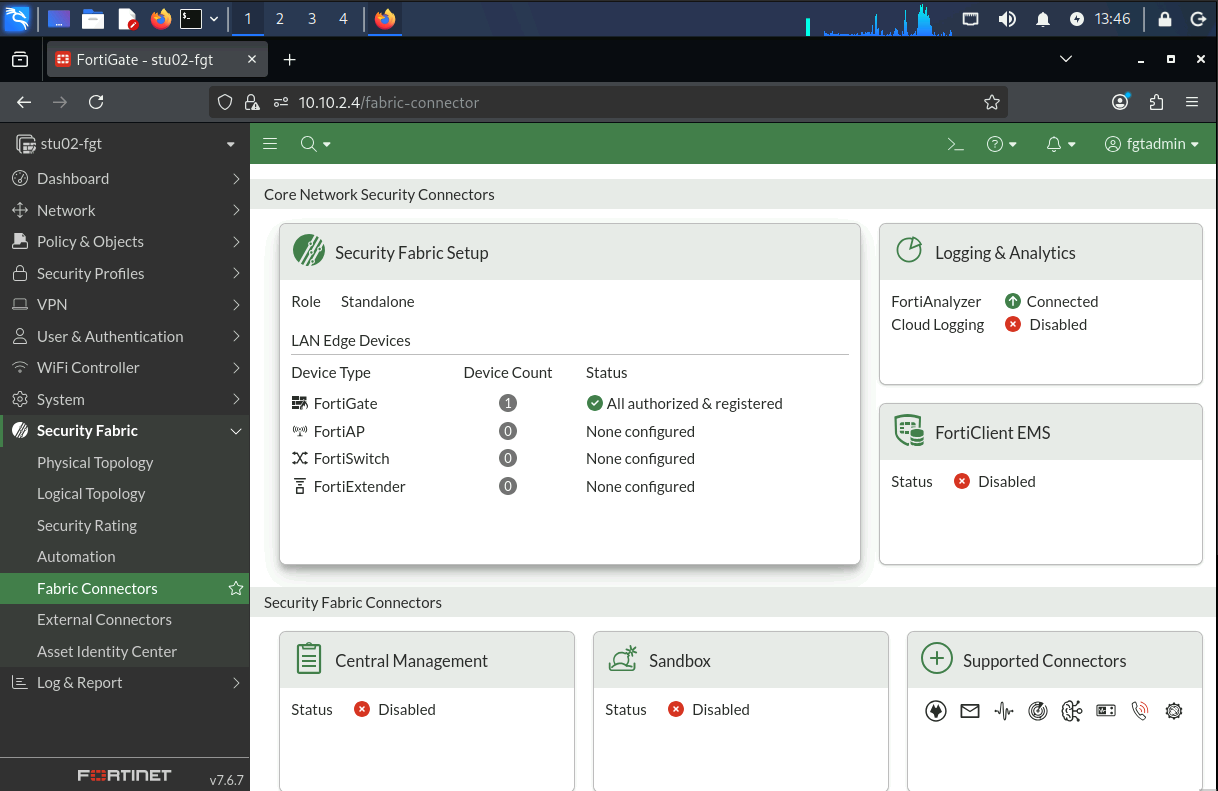
✅ Checkpoint
The Logging & Analytics connector should display Status: Connected.
If it does not reach the Connected state after a short time, contact your instructor before continuing.
Congratulations! Your lab environment is now ready. You can proceed to Lab 1.